Hi guys,
I'm Nico from Berlin, Germany and I'm building electric longboards since two years now. I would like to share with you my latest and easiest build which is technically a Raptor 2.1 with at GTX deck. I'm also motivated to write this post because of the Enertion R-SPEC DRIVE KIT | Best Build Competition [link].
- R-SPEC DRIVE KIT w/ 90mm wheels [link]
- FOCBOX UNITY ESC [link]
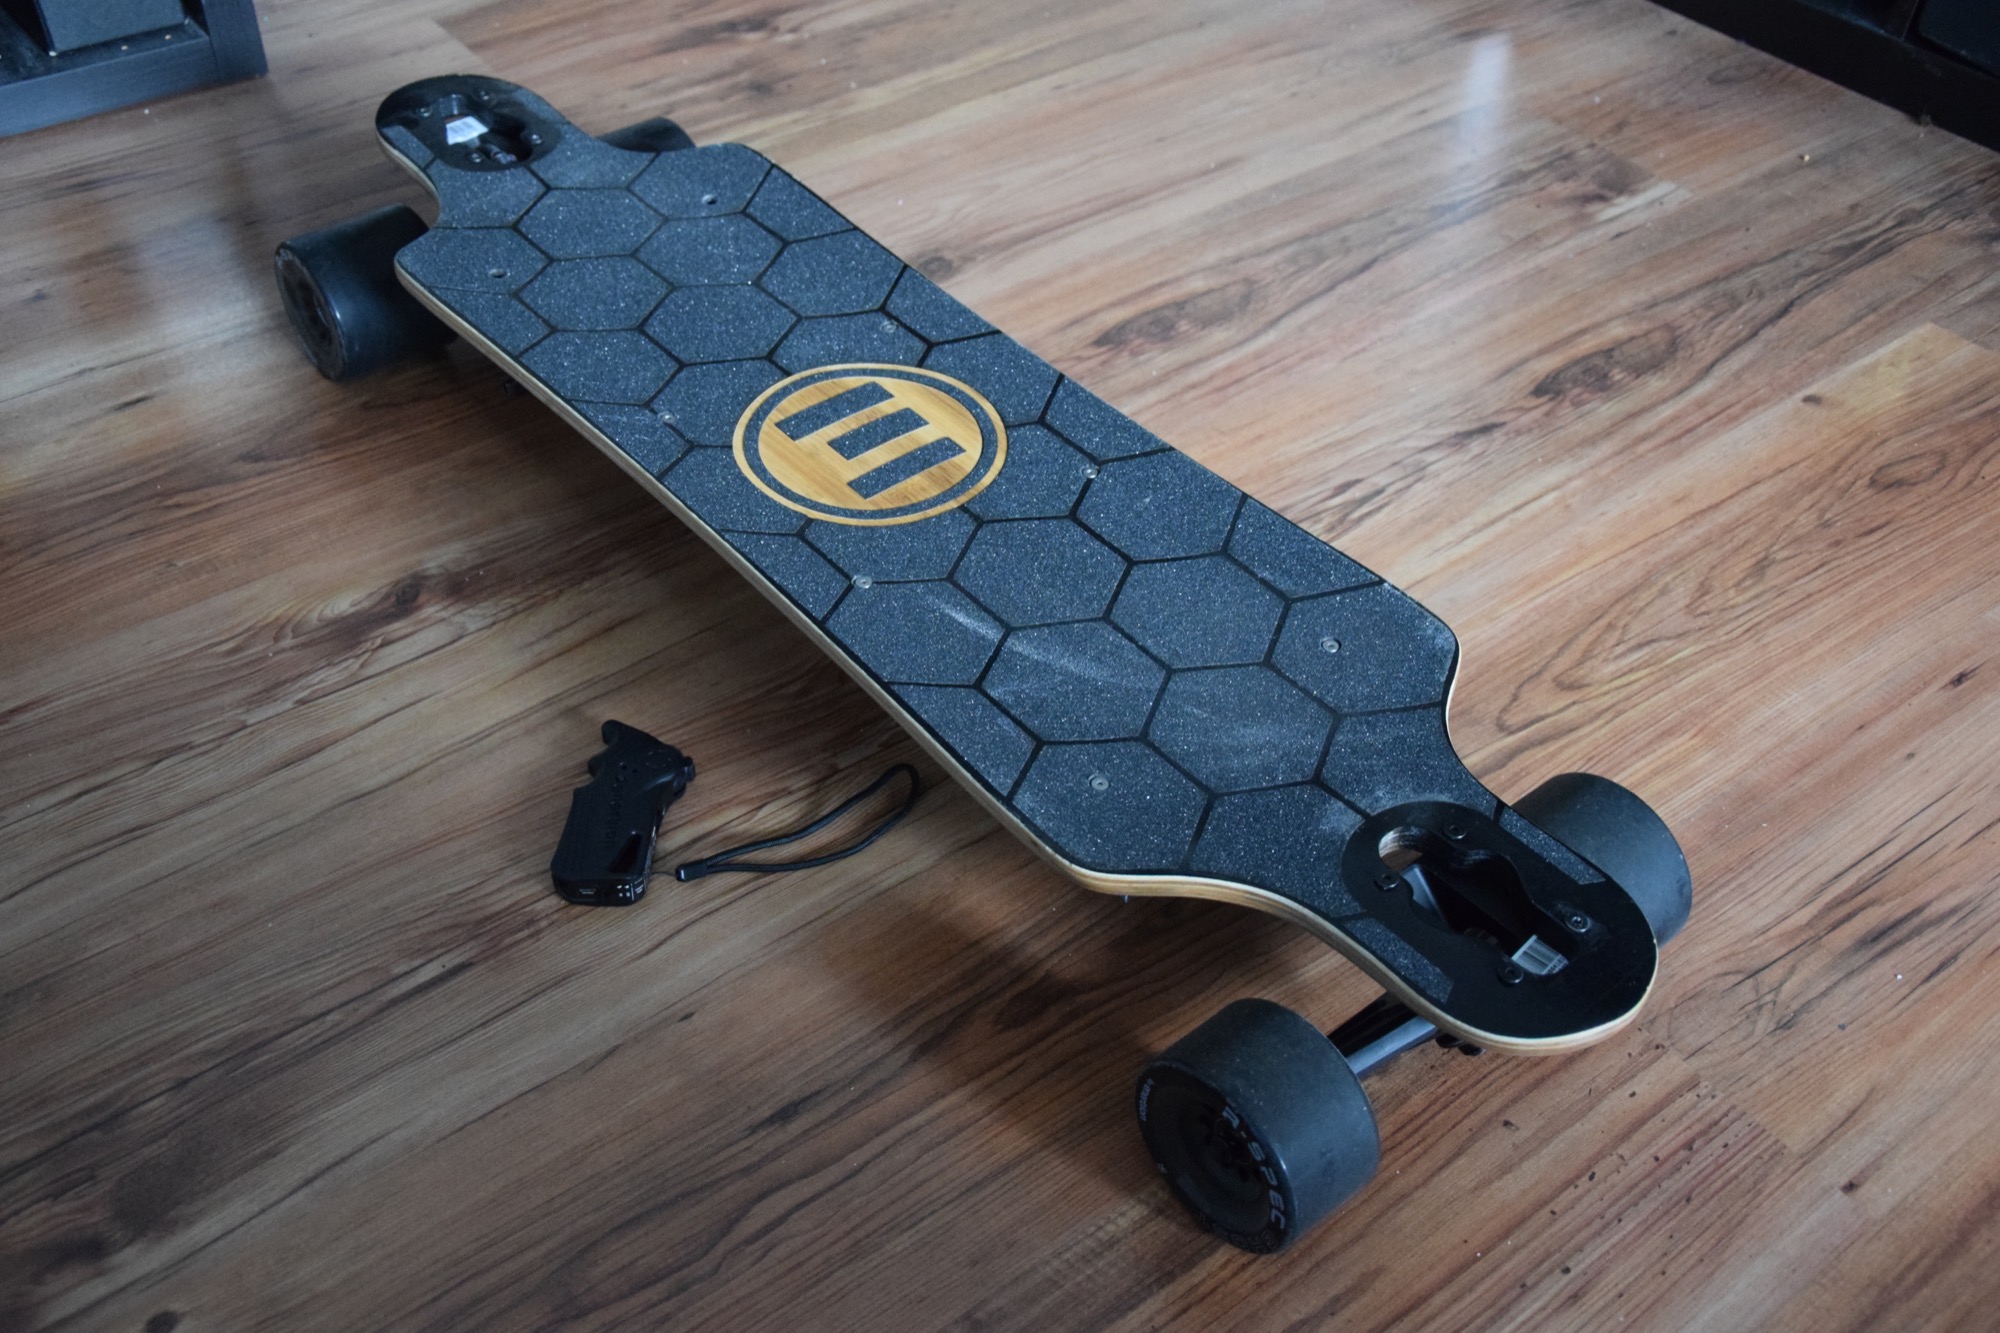
- Evolve GTX deck [link]
- Custom 12S3P battery pack w/ VTC5 + BMS [link, link]
- 3D printed custom enclosure + PVC bottom plate [link]
- Enertion Nano-X 2.4Ghz Controller [link]
- Voltage display [link]
- USB charging port module [link]
- Loop key
 The GTX deck by evolve is perfectly suited in my opinion because it comes already with a notch for the battery pack. Furthermore it's flexible and looks nice.
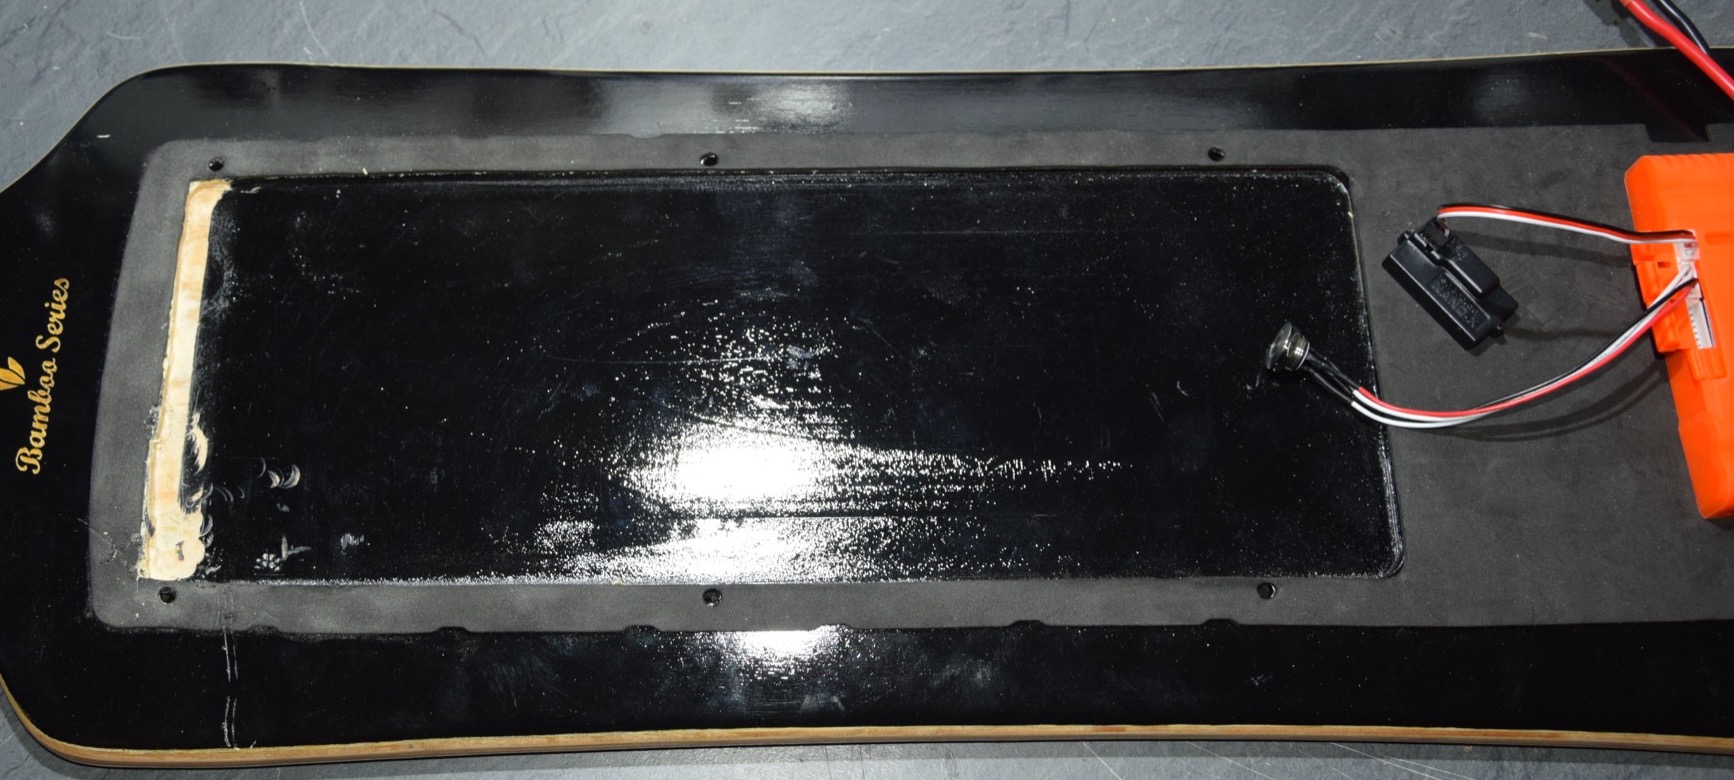
In order to use a 10S4P battery, the notch had to be enlarged by about 1 cm. I used the original screw holes to mount the enclosure.
 The enclosure is a modular 3D printed frame with a PVC plate underneath. Due to the dimension limits of 3D printing, I decided to design a modular system which can be printed in multiple parts. To ensure water resistence, I used a tongue and groove technique which makes the enclosure flexible as well. I also used sponge rubber between deck and enclosure as well as between PVC plate and enclosure.
You can find all parts on thingiverse.
The enclosure is a modular 3D printed frame with a PVC plate underneath. Due to the dimension limits of 3D printing, I decided to design a modular system which can be printed in multiple parts. To ensure water resistence, I used a tongue and groove technique which makes the enclosure flexible as well. I also used sponge rubber between deck and enclosure as well as between PVC plate and enclosure.
You can find all parts on thingiverse.
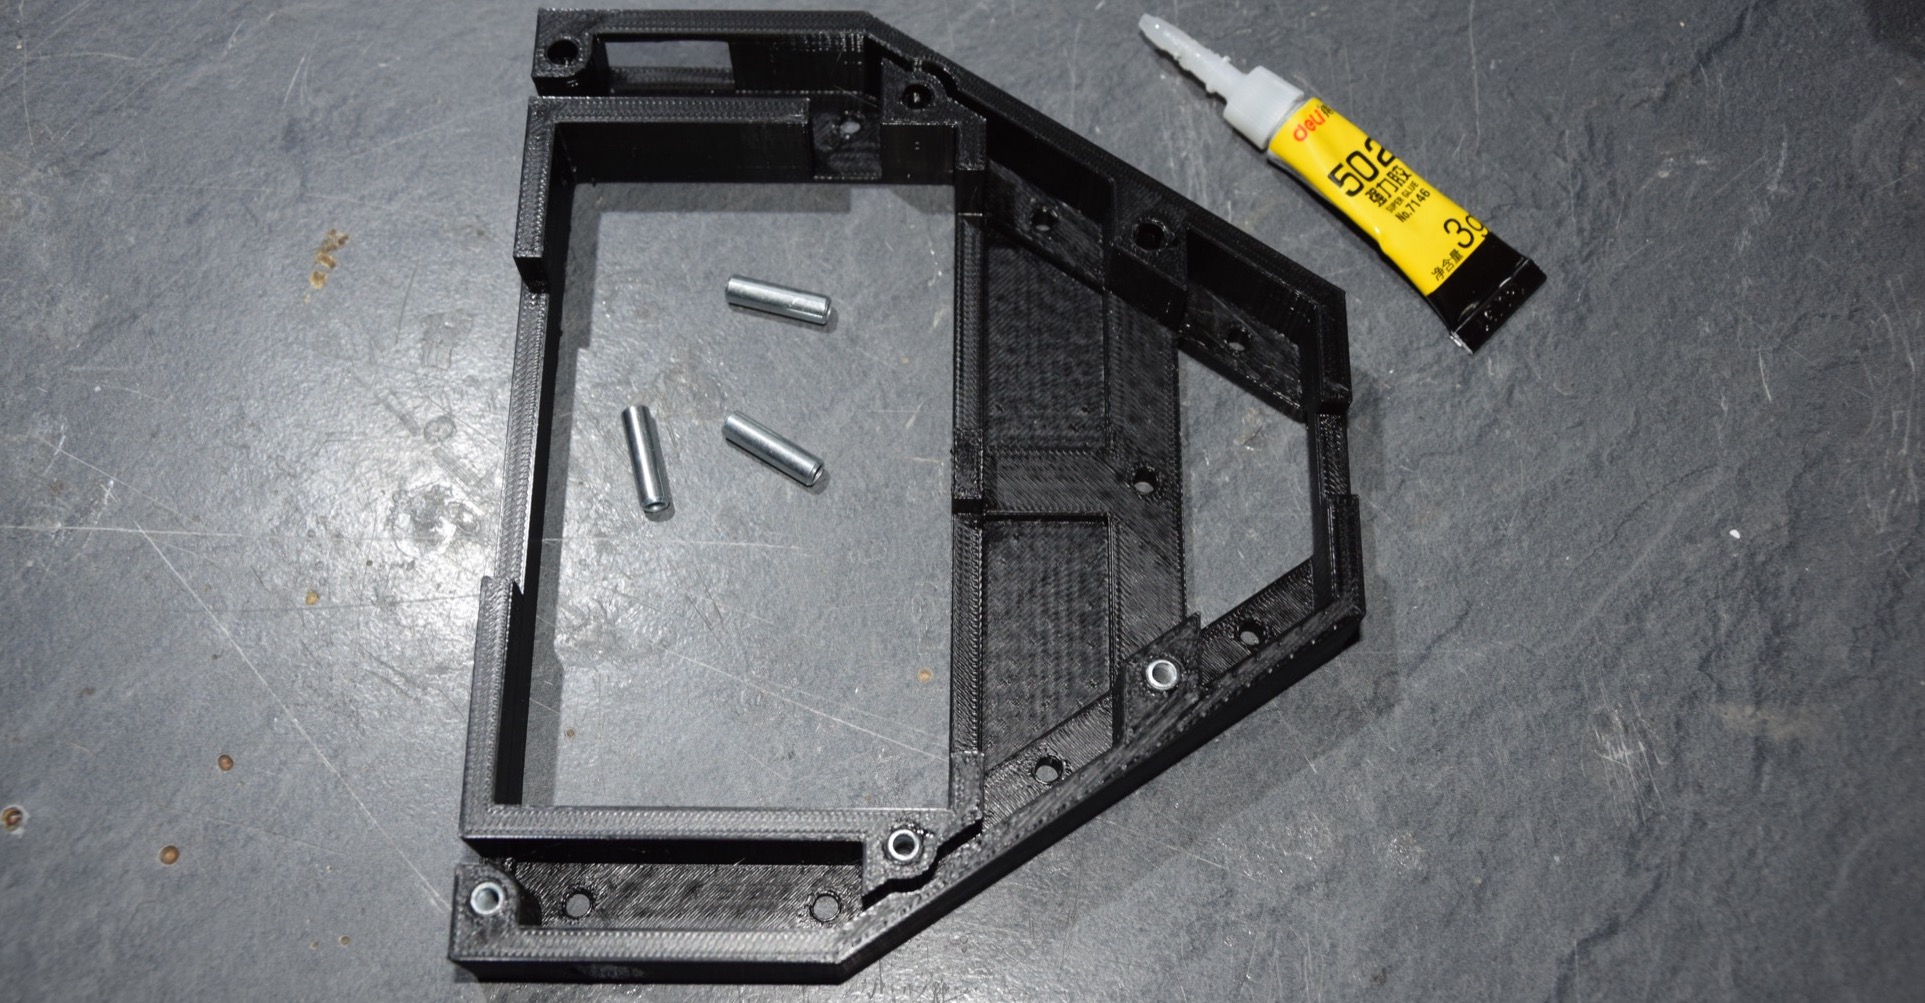
In order to mount the PVC plate underneath, I glued M4 threaded sleeves (5mm x 18mm) (link) into the parts as you can see in the picture below. This way I could use proper thread screws. The threaded sleeves pass through the entire material. This allowed the deck to be screwed on from both sides. This makes the construction pretty strong.
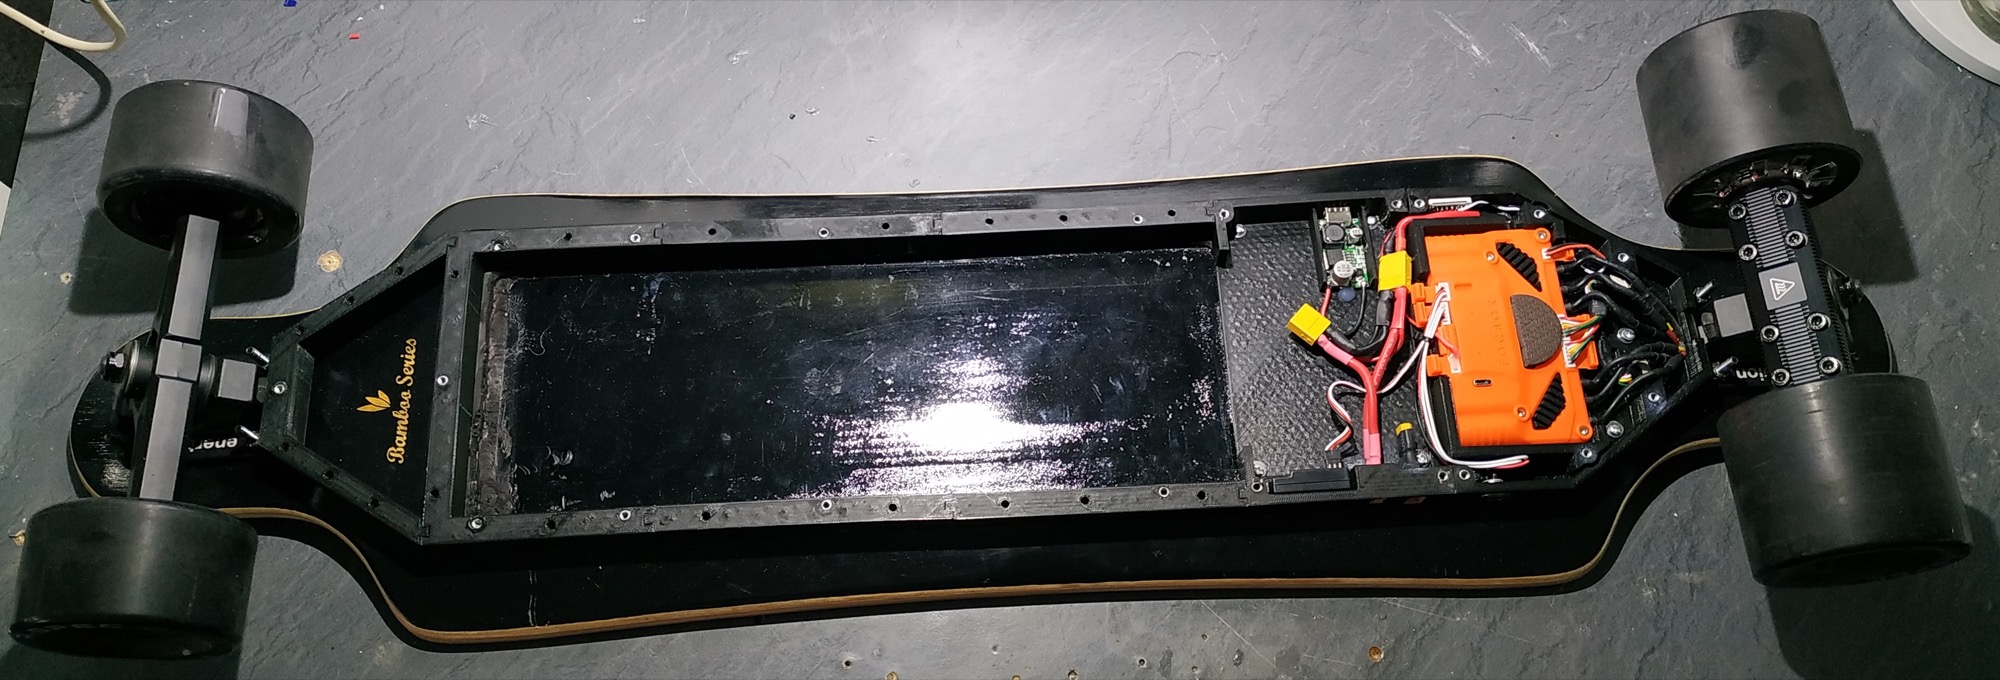
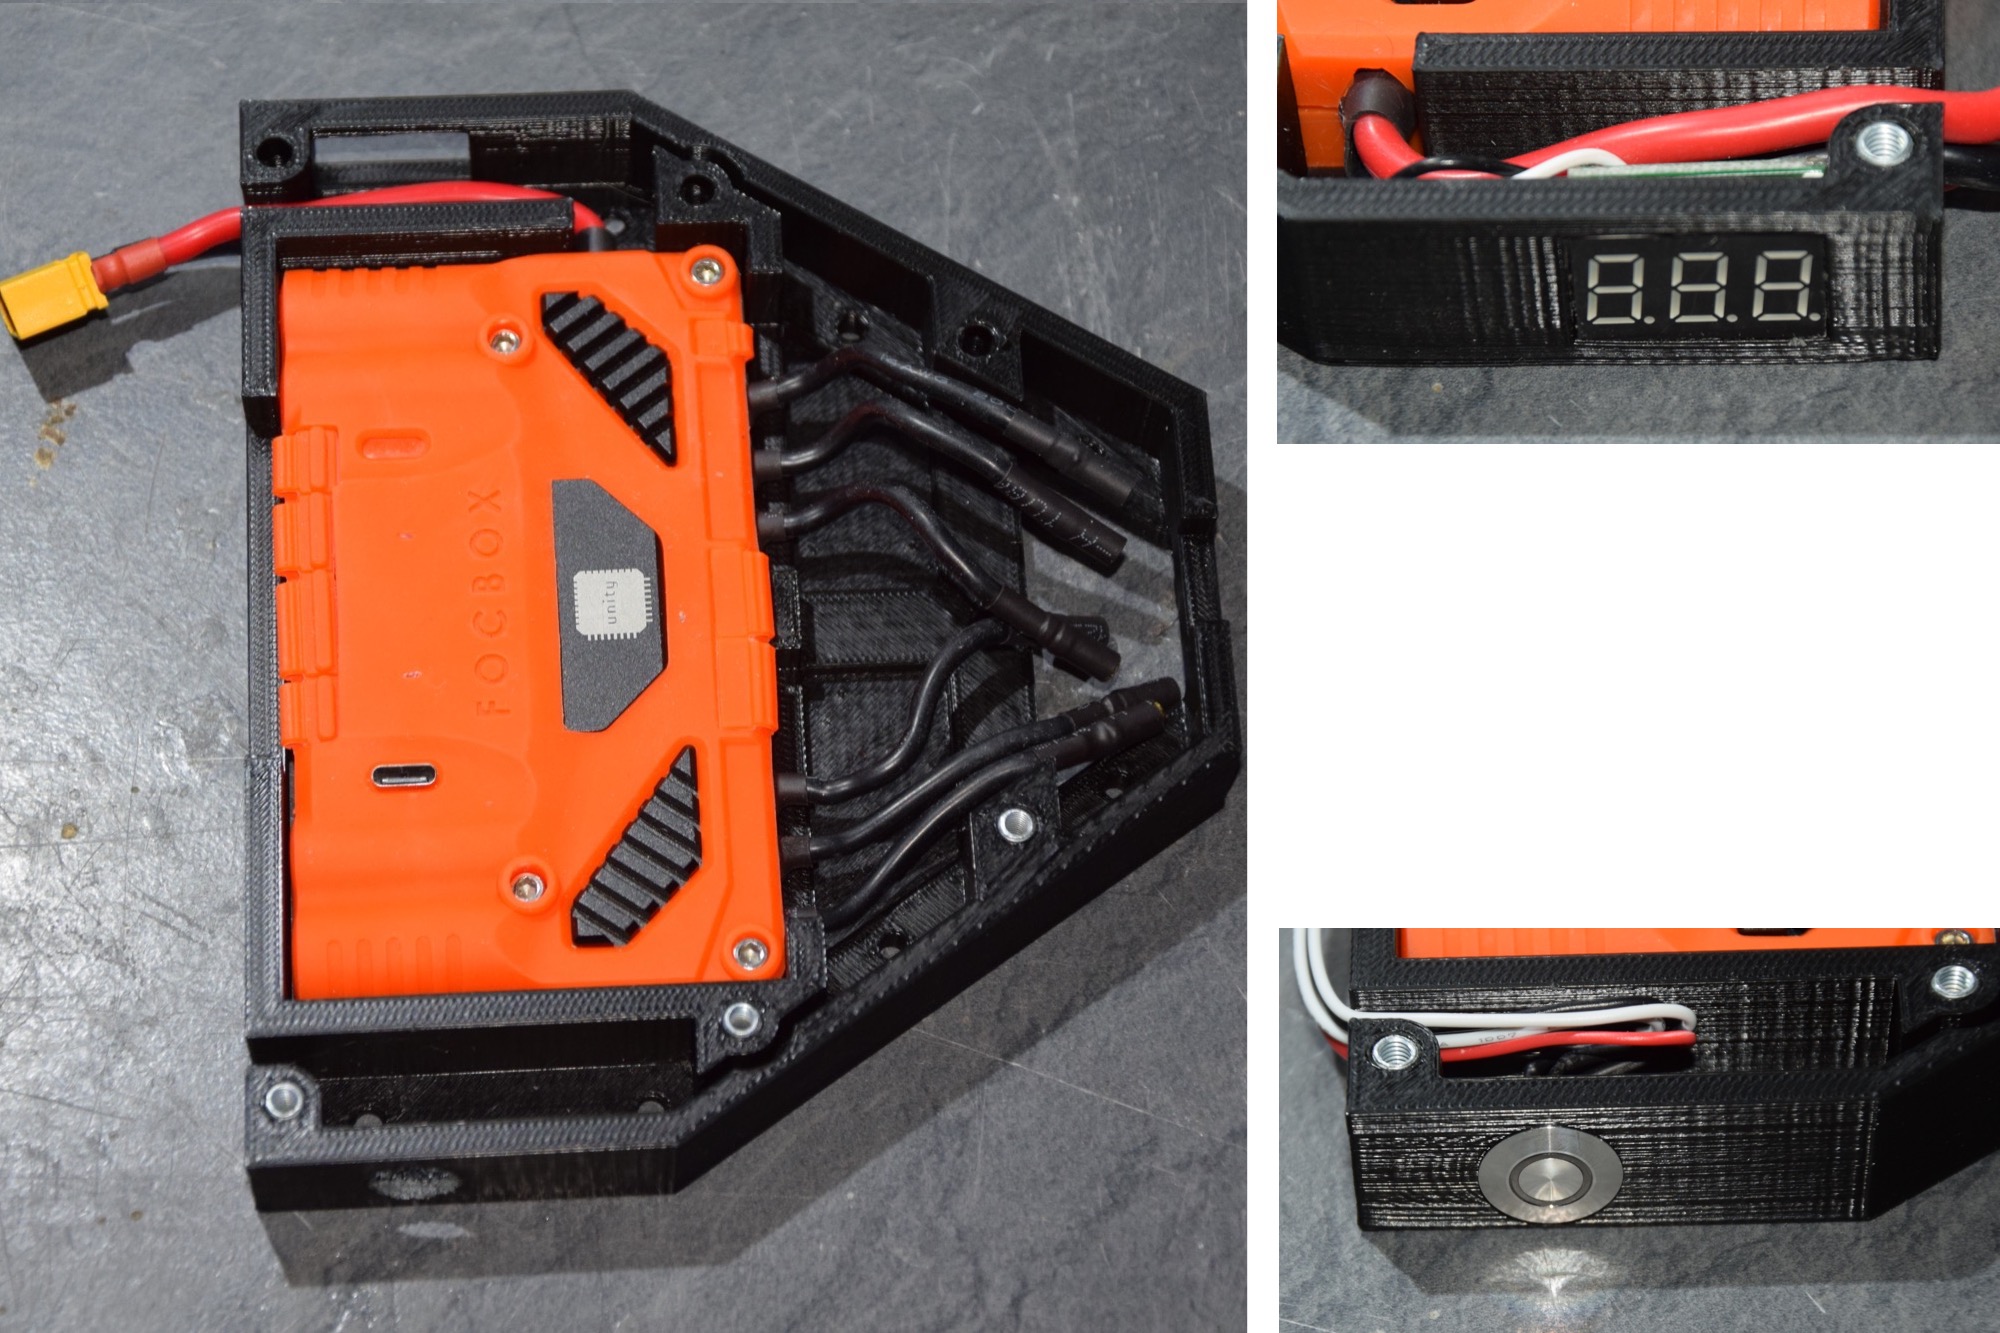 The rear part of the enclosure contains the FOCBOX UNITY as well as a battery voltage display and the power switch provided by enertion. The voltage display is powered by the CAN bus port (5V, GND) and the measuring wire is connected to the BATT+ pin of the AUX port. The FOCBOX sits tightly into the compartment, so there is no need to mount it with screws.
 The connector box is the middle part of the enclosure and contains receiver, 3A USB charging module (LM2596HV), XT60 charging port, XT60 key loop and all wiring. The charging port is connected to the BMS via XT30 in order to change the battery easily. The receiver of the Enertion Nano-X 2.4Ghz Controller fits perfectly in a small compartment and doesn't need to be srewed down.
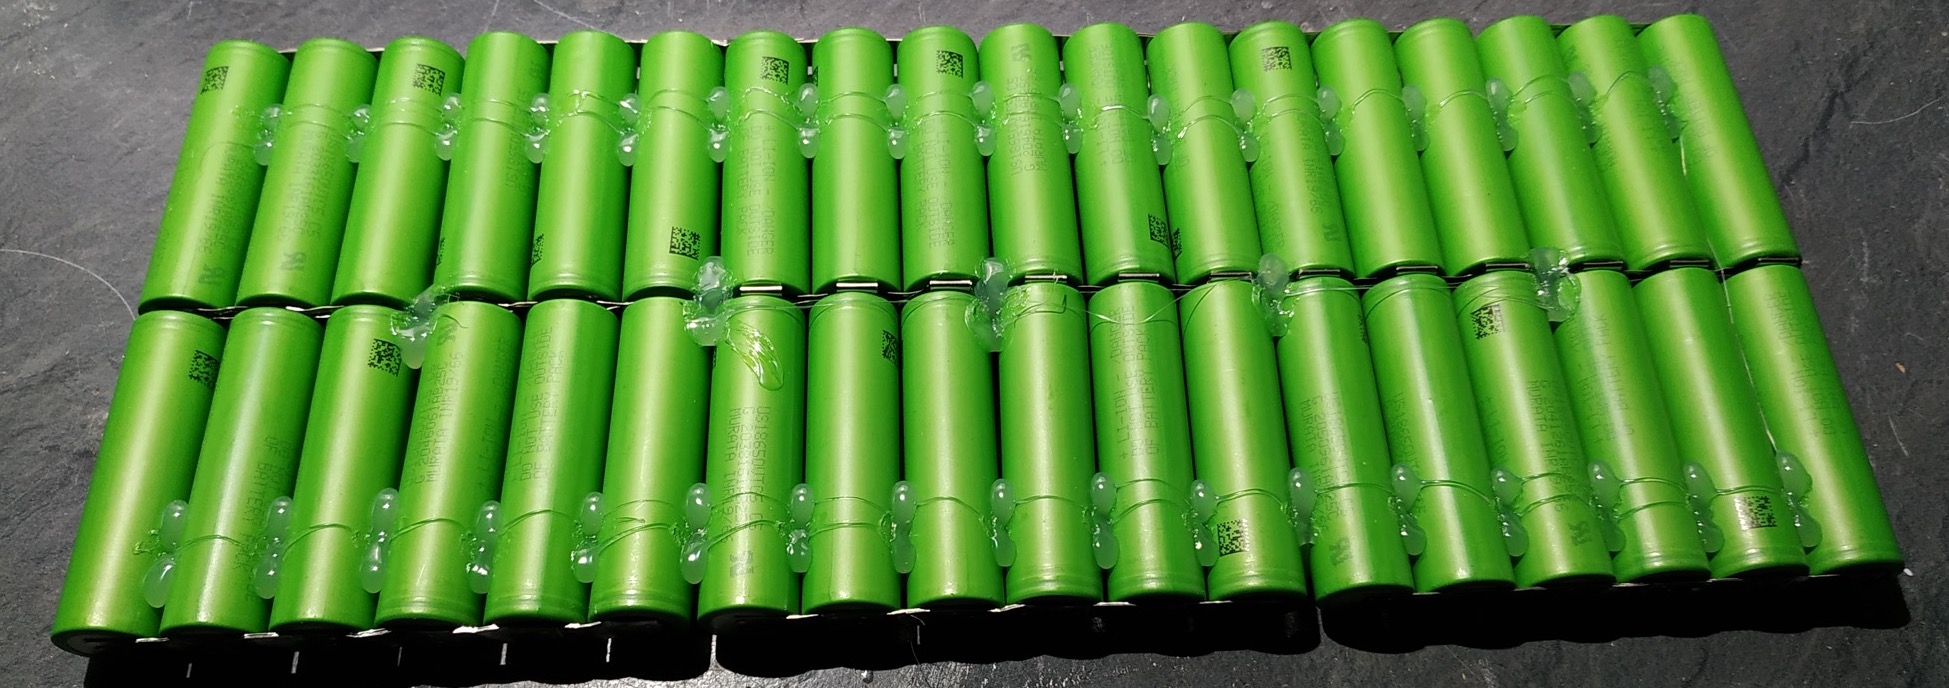
 12S3P or 10S4P? I chose both variants. 12S for more fun and 10S for more range. For the 12S3P pack I used 36 Sony Konion US18650VTC5 cells 2600mAh with a total capacity of 336Wh. I paid 128€ for 36 VTC5 cells on eu.nkon.nl. 36 VTC6 cells with 3000mAh would have cost 207€ for additonal 53Wh. Range is not that important to me, so I took the cheaper option.

For spotwelding, I used the amazing kWeld by keenlab powered by a high discharge lipo. The nickel strips are pure nickel (8mm x 0.3mm). I made some tests and figured out that they can easily handle 25A. In order to archive the full rated 90A of the cells, I used 4 layers of nickel (pyramid technique) at the S-transitions to be on the safe side.


The BMS is a cheap 13S circuit usable for 12S as well. It is only used for charging and not for discharging. To prevent the battery from over discharge, I used the cut off setting of the FOCBOX UNITY. As I mentioned before, I would like to use 12S3P and 10S4P battery packs in the battery compartment. In order to get the same dimensions, I printed a 2x2 dummy cell construction as your can see on the picture below.
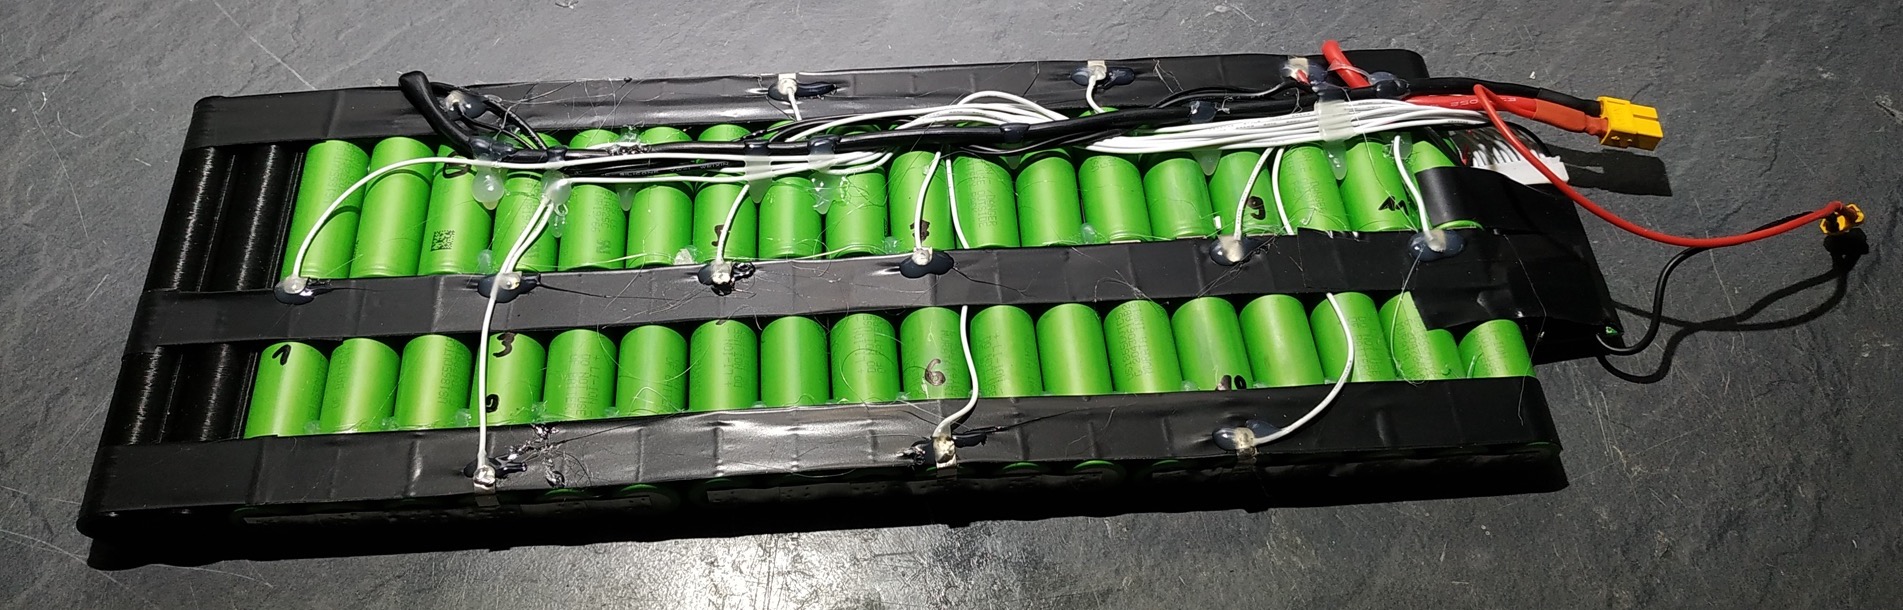
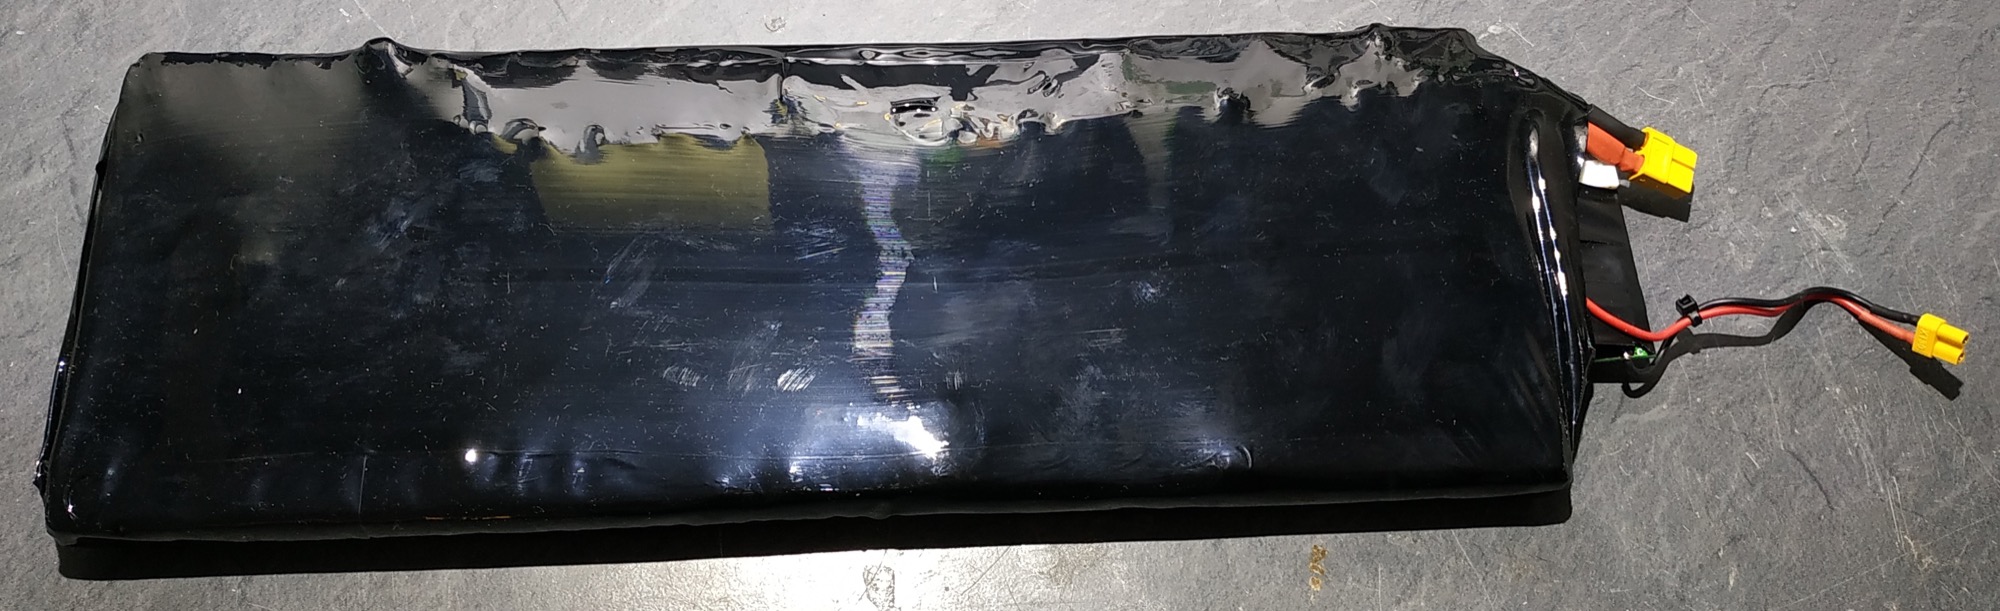
After adding all the wires, I added felt pads on all edges which should absorb shocks and keep the pack tight in the battery compartment.
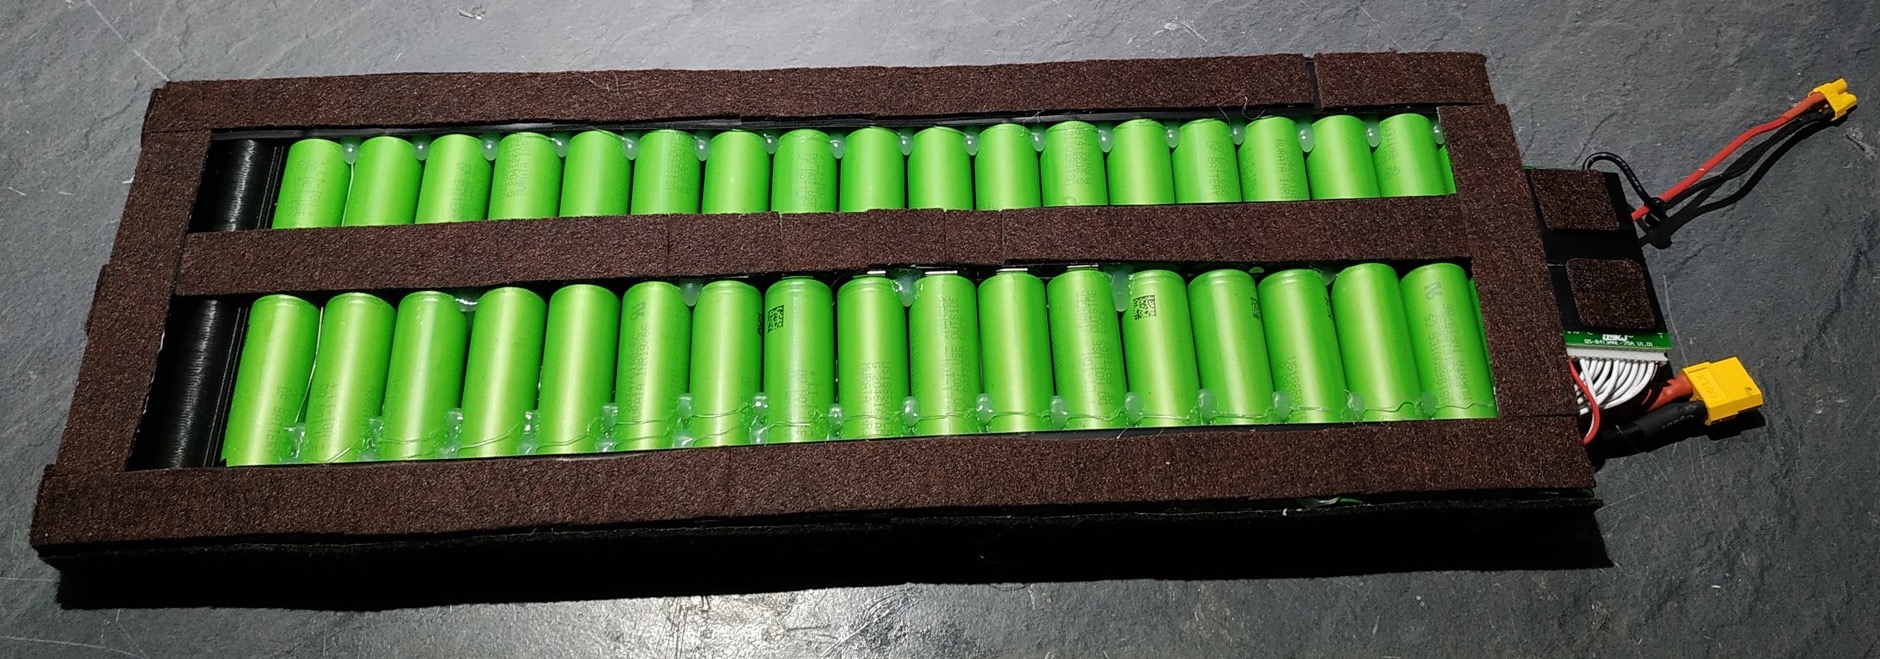
Finally I used a 200mm shrink tube and a hot air gun to close the battery pack.
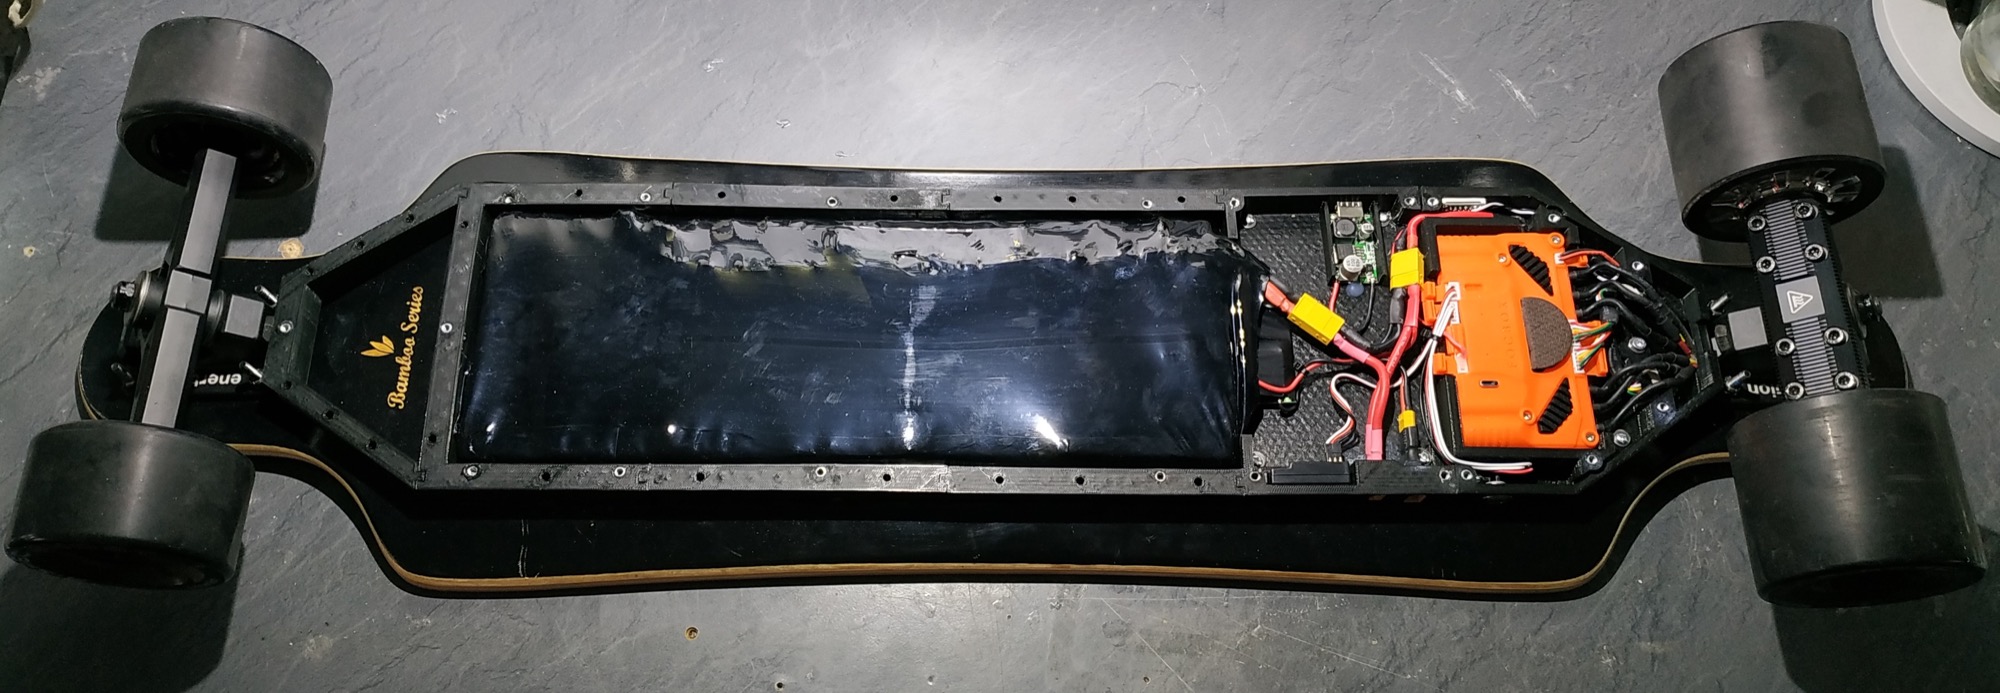
After inserting the battery and connecting the XT60 and XT30, the only thing left was the bottom plate.
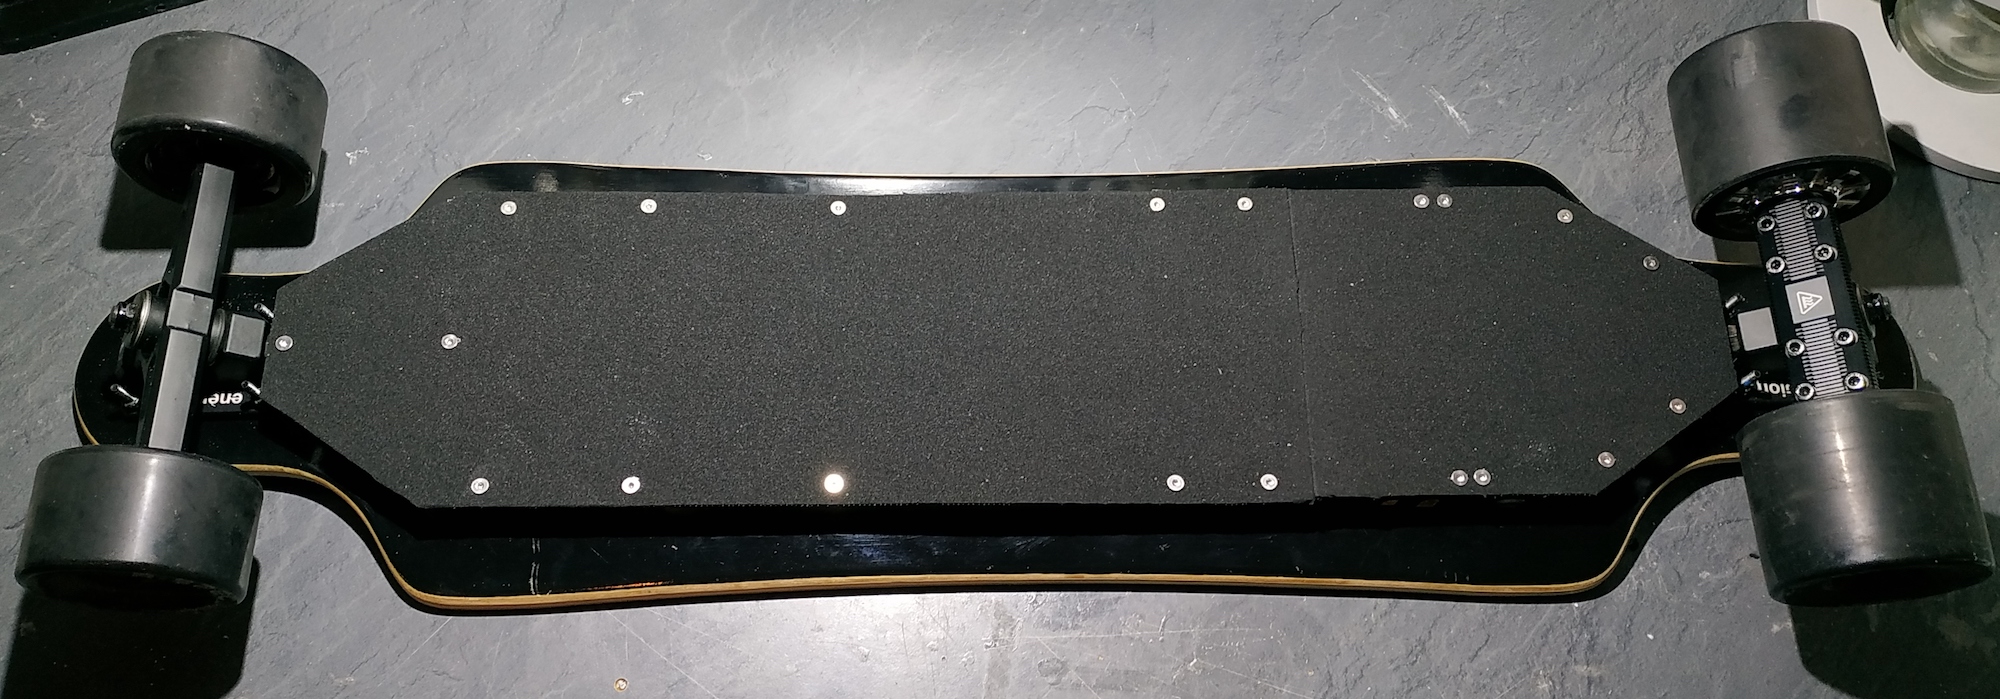
That's it. Just an easy, modular build :).
What do you think? Any suggestions for improvements?
If you have any questions please feel free to drop a message.
Cheers, Nico